
Have you ever wished your email was as safe as a locked treasure chest? Imagine sending secret messages that only your trusted buddy can decode, thanks to a shared secret code. Today, we'll walk through easy steps to set up email encryption, a method that scrambles your messages so only the right eyes can see them. This guide takes you from creating secure key pairs to sending your first test message, all in a friendly, no-fuss way. Let's dive in and protect your digital chats with confidence and ease.
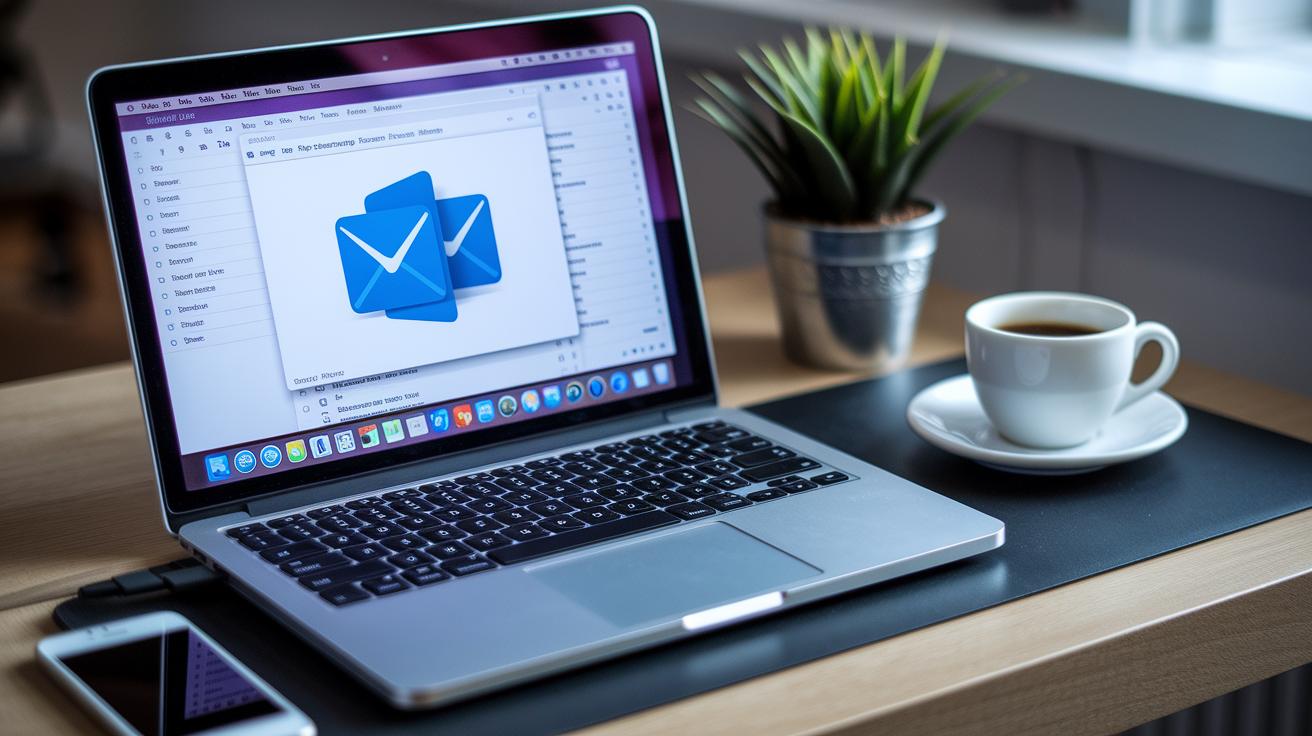
Implementing Email Encryption: A Step-by-Step Setup Tutorial
-
Obtaining or generating your key pair
First, you need a pair of keys: one public and one private. The public key is like a padlock anyone can use to send you secure messages, while the private key is your secret that keeps your emails safe. For S/MIME encryption, you can ask a trusted authority for a certificate. If you’re using PGP/MIME, a tool such as GnuPG will help you create these keys. Think of it as setting up a secret code that only you and your trusted friend know. -
Installing or importing a digital certificate into your email client
Once you have your certificate or key, the next step is to load it into your email program. In Outlook, for example, go to File, then Options, head over to the Trust Center, click on Trust Center Settings, and finally navigate to Email Security to import your certificate file (usually ending in .pfx or .p12). On devices like iOS or for Gmail using G Suite’s S/MIME, the steps are similar. After this step, your email client will proudly display your certificate in its security settings. -
Configuring encryption settings in your client’s security preferences
Now, let’s set up your encryption preferences. Pick your certificate to use for both signing and encrypting your emails. It’s best to choose a strong encryption method, like AES-256, to keep your messages secure. Also, make sure your email client is set to automatically encrypt both the message content and any attachments. Imagine the reassuring glow of a secure login screen confirming your settings. -
Composing and sending a test encrypted email
It’s time to try things out. Write a new email and select the encryption option before you send it. Send this message to a trusted friend or colleague who can later confirm that the email came through safely and securely. Sometimes, sending a simple note that says “Test encrypted email” is all you need to verify the setup. -
Verifying decryption on the recipient side
Finally, check in with your contact to ensure they can read your email as intended. They should see your message clearly, without any jumbled text, confirming that your encryption setup is working just right. When they let you know everything looks good, you can rest easy knowing your communications are secure.
Preparing for Your Email Encryption Setup Tutorial: Requirements and Prerequisites

Before you jump into setting up your encrypted email, take a moment to gather everything you'll need. Start by making sure you have all the right software, accounts, and files handy. If you're going with S/MIME, you'll need to either buy or request a certificate from a trusted certificate authority. Once you have it, export the certificate file (usually a .pfx or .p12) along with its private key, and be sure to secure it with a strong passphrase. If you prefer PGP, simply generate your key pair using an easy tool like GnuPG or Kleopatra, and then exchange your public key with the people you’ll be emailing.
Next, check that your email client is on the list of supported options. You might be using Outlook 2016 or later (with Office 365 for those extra secure features), Gmail G Suite for S/MIME, iOS Mail if you have a certificate profile downloaded, or even Android with a trusted PGP app like OpenKeychain. Each of these has been set up to keep your encrypted emails safe and sound.
Before diving in, make sure you have these essentials ready:
| Essential Item | Description |
|---|---|
| Certificate or PGP Tool | Get your certificate via a trusted CA or generate a PGP key pair |
| Email Client | Use a supported version (Outlook 2016+, Gmail G Suite, iOS Mail, Android with OpenKeychain) |
| Recipient Keys | Collect public keys or certificates from the people you’ll email |
| Backup Plan | Have a secure backup and recovery plan for your private keys |
Lastly, double-check that every piece of software is up to date. With certificates, a supported email client, and a clear backup plan, you're all set. This strong setup will help you enjoy a smooth and secure email encryption experience.
Configuring S/MIME and PGP in Your Email Encryption Setup Tutorial
For S/MIME, once you’ve imported your CA-issued .pfx certificate and set it up for signing and encryption (just like you learned in the certificate installation steps), take a moment to explore your email client’s deeper settings. In Outlook or on your iOS device, head to the Trust Center or Profile Manager to check if there are extra options, like certificate checks or different cipher choices. For example, you might spot an "Advanced Encryption Options" setting where you can pick AES-256 to strengthen your security.
Now, for PGP/MIME, after generating your key pair with a tool like GnuPG and swapping public keys as explained earlier, dive into your client’s configuration panel for more advanced tweaks. Here, you can choose which key to use by default or adjust how your emails are compressed. Some setups even offer a "Customize Encryption Settings" option, letting you select a compression method that balances speed and security perfectly.
Be sure to check out your email client’s help guides too. They might offer unique settings that let you fine-tune your encryption experience without needing to follow every detailed step again.
Email Encryption Setup Tutorial for Popular Clients

Securing your email is easier than you might think. Start by getting a Digital ID from a trusted provider. One user shared, "I secured my Digital ID and now my email is safe."
Step 1: Get Your Certificate
Buy or request a Digital ID to prove your identity. This is the key to setting up email encryption and keeping your messages private.
Step 2: Import Your Certificate
Next, load your certificate into your email client's settings. Most certificates come as a .pfx or .p12 file.
| Email Client | Steps |
|---|---|
| Outlook | Go to File, then Options, then Trust Center, followed by Trust Center Settings, and finally Email Security. Import your certificate and enable the setting to “Encrypt contents and attachments.” |
| G Suite Enterprise Gmail | Admins should sign in to the Admin Console, navigate to Apps, then G Suite, then Gmail, and click on User Settings to upload the S/MIME certificate. |
Step 3: Write and Test an Encrypted Email
Now that your certificate is installed, compose a simple message, say, "Secure test email", and make sure to turn on encryption for that email. This will help you see if everything is working as expected.
Step 4: Confirm Decryption Works
Send your test email to a trusted contact. If they mention that the text looks scrambled or unreadable, it’s time to review your certificate installation and encryption settings.
Client-Specific Tips:
• Outlook Case Study: The clear steps in the Trust Center make it simple to secure your mail with just a few clicks. This real-life example underscores how essential proper certificate management is for keeping your emails safe.
• Gmail Guidance: Keep in mind, standard Gmail uses TLS to protect emails while they're traveling, but it doesn't encrypt the email content itself. For end-to-end protection, consider S/MIME on G Suite Enterprise or try add-ons like FlowCrypt, which guide you through managing your encryption keys.
Troubleshooting and Best Practices in Your Email Encryption Setup Tutorial
When your encrypted email isn’t behaving as it should, start by checking a few common culprits. Sometimes the key pair you created might not match what your email client expects, or your certificate might have expired or isn’t recognized. First, confirm that your certificate is still valid. If it’s not, try re-exporting and re-importing it into your email client. Also, double-check that it’s set up for both signing and encryption.
Below are some common errors and their quick fixes:
-
Error: “Cannot encrypt for recipient”
Fix: Import the right public key for your contact. -
Error: “Certificate not trusted”
Fix: Add the certificate authority to Trusted Publishers. -
Error: “Decryption failure”
Fix: Make sure your private key and passphrase are correct and current.
Along with troubleshooting, here are some best practices to keep your emails secure:
- Use strong, unique passphrases for your keys.
- Turn on two-factor authentication for an extra layer of safety.
- Avoid sending sensitive emails on public Wi-Fi. Instead, use secure networks, as suggested in trusted privacy resources.
- Remember to log out when you’re done to reduce the chance of unauthorized access.
By reviewing these steps, you can quickly fix issues and keep your communication secure. Have you ever wondered if your email encryption could run this smoothly? Now you can enjoy a safer digital conversation every day.
Advanced Encryption Features in the Email Encryption Setup Tutorial
If you’re ready to boost your email security, digital signatures can really make a difference. They confirm that your message is truly from you. Set up signing certificates in your client’s security policy so that each signed email instantly gains trust. It’s like having your email recognize a friend’s voice without a second thought.
In Outlook 365, there’s room to play with your security settings. You can pick a cipher suite that best fits what you need, say, using AES-256 for encryption paired with a strong hash function (a way to verify data hasn’t been changed). This lets you adjust your security to match your unique setup.
Taking care of your certificates is crucial too. Put in place reminders so you know when they’re about to expire, renew them through your provider, and cancel any that might have been compromised. This keeps your communications secure and fresh.
- Automatically trust digitally signed messages
- Choose custom encryption and hashing options
- Monitor certificate expiration, and renew or revoke as necessary
These thoughtful steps give you complete control for an email encryption setup that’s both secure and effortless.
Final Words
In the action, this guide showed you how to secure your email steps by step. You learned to set up encryption protocols, configure client settings, and tackle common errors with simple fixes. The walkthrough covered key generation, certificate management, and even advanced options. This practical email encryption setup tutorial offers a handy reference for a safer digital life. Keep your messages secure and enjoy the peace of mind that comes with better protection.
FAQ
How do I set up email encryption in Gmail?
The process to set up email encryption in Gmail uses TLS by default and can be enhanced using third-party tools like FlowCrypt for true user-level encryption, ensuring your sensitive messages are shielded from unauthorized eyes.
What is Microsoft Purview Message Encryption and how do I set it up?
Microsoft Purview Message Encryption integrates encryption features into Microsoft 365 to protect email content. It supports both basic and advanced licensing, requiring proper license assignments and set-up steps within Office 365 for full functionality.
How do I set up email encryption in Outlook and Office 365?
The process in Outlook involves using built-in S/MIME, available with an Office 365 subscription. Import your digital certificate via the Trust Center settings, send a test email, and verify its decryption to confirm secure configuration.
What is the best email encryption method?
The best encryption method depends on your needs. S/MIME works well for Outlook users by leveraging digital certificates, while third-party tools can expand Gmail’s native TLS with stronger, user-focused encryption for added security.
Is it a good idea to encrypt your email?
Encrypting your email encodes your messages so only approved recipients can view them. This added security layer protects your sensitive information and helps keep your digital conversations private and safe.